
Fridrich method (modified) (part 4)
2. Placing of the first layer corners
3. Placing of the second layer edges
4. Preparation of the last layer
Table 9: Algorithms of orientation of the last layer
Case
Figure
Algorithms
1

R'F'L'FRF'LF
2
FB'URU'R'U'R'U'RUF'B
3
RU2R2U' - R2 - U'R2U2R
4
RU2R'U' - RUR'U' - RU'R'
5
U2 - RUR'URU2R'
6

RU2R'U'RU'R'
7

R2DR'U2 - RD'R'U2 - R'
8

R'F'LFRF'L'F
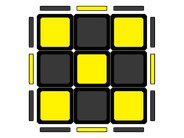
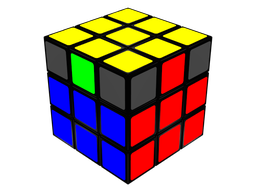
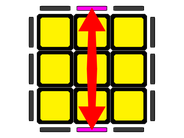
At this point, we have to permute the edges, which means to change their position, but not their orientation. It is necessary to look at the number of edges well positioned (as an example, in Figure 9, the red and yellow edge is in the correct position.
Move the top layer, to see how many well-positioned edges we can get. There are three cases:
6.1. 0 edges well positioned
How are the edges exchanged? There are two possibilities (in Table 10):
Table 10: Permutation of edges - 0 edges well positioned
Case
Figure
Description
Algorithm
1

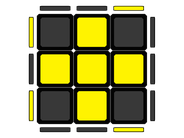
Seen from above, the edges are exchanged forming a cross
M2U - M2U2 - M2U - M2
2
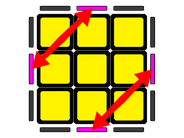
Seen from above, the edges are exchanged diagonally
RB'R'B - FR'F - B'R'BR - F2 - U
6.2. 1 edge well positioned:
Turn the upper layer (or the whole cube, to see what is happening more clearly), until the matched edge is opposite us. In this point, there are two possibilities (see Table 11):
Table 11: Permutation of edges - 1 edge well positioned
Case
Figure
Description
Algorithm
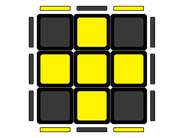
1
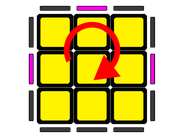
Seen from above, the edges must turn clockwise
R'U - R'U' - R'U' - R'U - RUR2
2
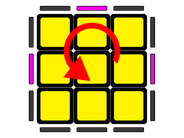
Seen from above, the edges must turn counterclockwise
R2U'R' - U'R - UR - UR - U'R
6.3. 2 edges well positioned:
In this case, there is only a possibility (Table 12):
Table 12: Permutation of edges - 2 edges well positioned
Case
Figure
Description
Algorithm
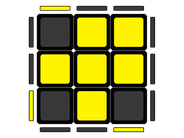
1
Seen from above, the correct edges must be on the right and on the left. To get that, turn the upper layer (or the whole cube, to see it better).
RB'R'B - FR'F - B'R'BR - F2

