
Fridrich method (modified) (part 2)
2. Placing of the first layer corners
3. Placing of the second layer edges
4. Preparation of the last layer
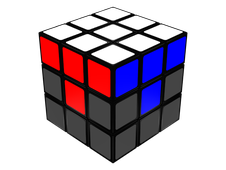
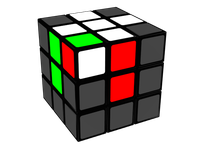
The aim is to place correctly the corners containing the white colour, to complete the white face and to create some T in the vertical faces (Figure 2):
Hold the cube with a face in front of you; if the piece of the right upper corner contains a white sticker, there are two cases: the piece is the one which should be in that position (piece well posisitioned; Table 3), or should not be in that position (piece badly positioned; Table 4).
Table 3: Algorithms of the 2nd
part to orientate the right upper corner (well positioned)
Figure
Description
Algorithms
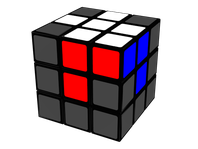
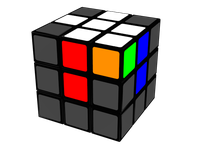
Trivial case; correct position and orientation
-
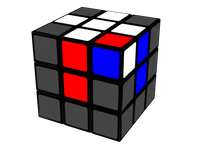
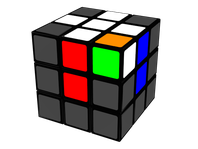
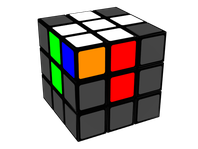
Correct position, incorrect orientation; white on the right
D'B'DBD'B'D
R'D'RDR'D'R
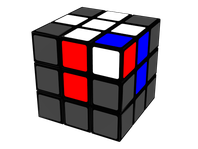
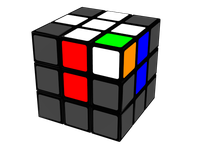
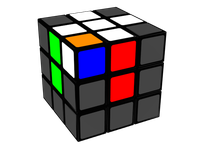
Correct position, incorrect orientation; white on the front
D'BDB'D'BD
R'DRD'R'DR
Table 4: Algorithms of the 2nd
part to orientate the right upper corner (badly positioned)
Figure
Description
Algorithms
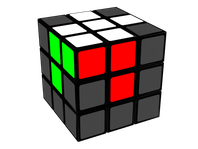
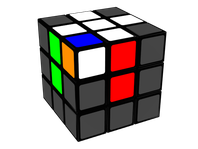
Incorrect position; white on the top
First option
R'D'R
Second option
R'DR
Incorrect position, white on the right
R'D'R
Incorrect position, white in the front
R'DR
This can be used when the left upper corner contains a white sticker. There are too cases, too (piece well positioned; Table 5, or piece badly posotioned; Table 6]).
Table 5: Algorithms of the 2nd
part to orientate the left upper corner (well positioned)
Figure
Description
Algorithms
Trivial case, correct position and orientation
-

Correct position, incorrect orientation; white on the left
LDL'D'LDL'
Correct position, incorrect orientation; white in the front
LD'L'DLD'L'
Table 6: Algorithms of the 2nd
part to orientate the left upper corner (badly positioned)
Figure
Description
Algorithms
Incorrect position; white on the top
First option
LDL'
Second option
LD'L'
Incorrect position; white on the left
LDL'
Incorrect position; white in the front
LD'L'
The cases in which the corner is on the left (Tables 5 and 6) can be replaced by those in which the corner ends up on the right (Tables 3 and 4) with just a turn of the whole cube. Although they are explained here so that this guide is more complete and to avoid turning the cube, right-handed people may prefer the movements described in Tables 3 and 4, and left-handed may prefer those of Tables 5 and 6.

